
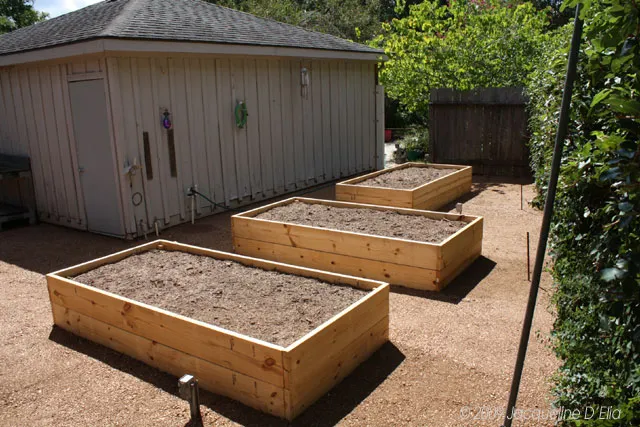
Now that the space has been cleared and the decomposed granite installed, leveled, and gently patted down, we are ready to install the three raised beds. I preassembled the first level out on the driveway before the project began. They were heavy so I decided to install the second level, once they were in place in the garden. The crew moved them into place one at a time.
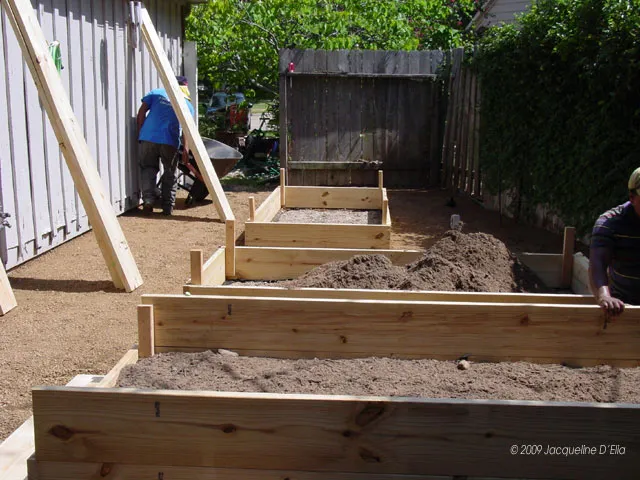
Having the 16-inch 2 x 3 already attached made it easy to add the second level.
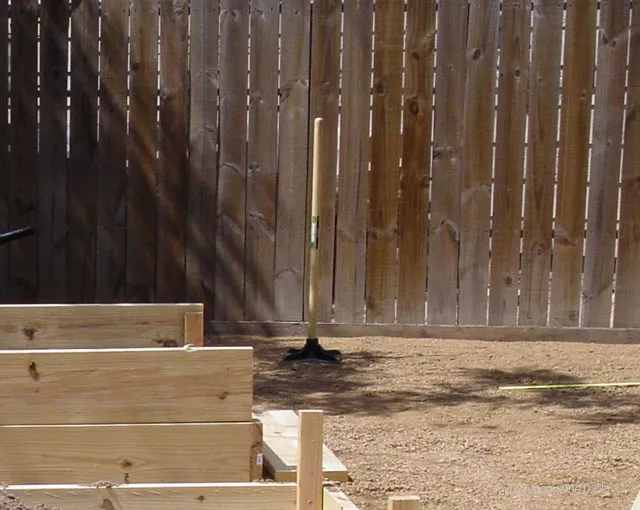
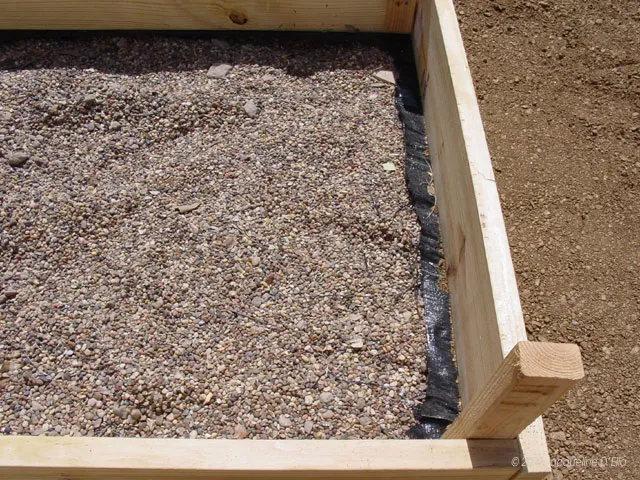
We cut out the Lumite® Weed Barrier so the beds would drain freely. I did not want them holding water after a heavy rain (still praying for that rain). The pea gravel made a nice base.
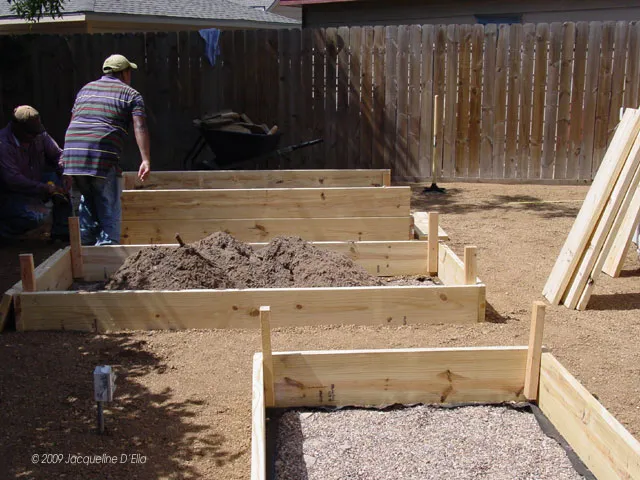
Each of the beds were filled with the Vegetable Garden Mix one wheelbarrow at a time from the mound in front of the house.
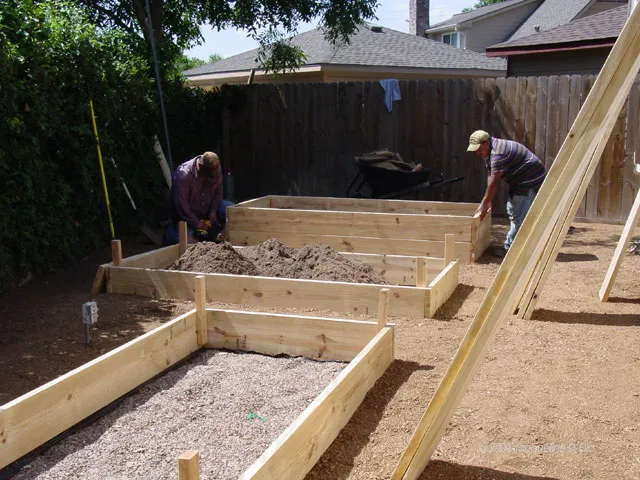
We finished assembling the beds while two of the crew hauled in the stone for the seating area. Checking with my tape measure to be sure I have enough room for the stock tank. I’ll need 6 feet plus clearance to walk around it.
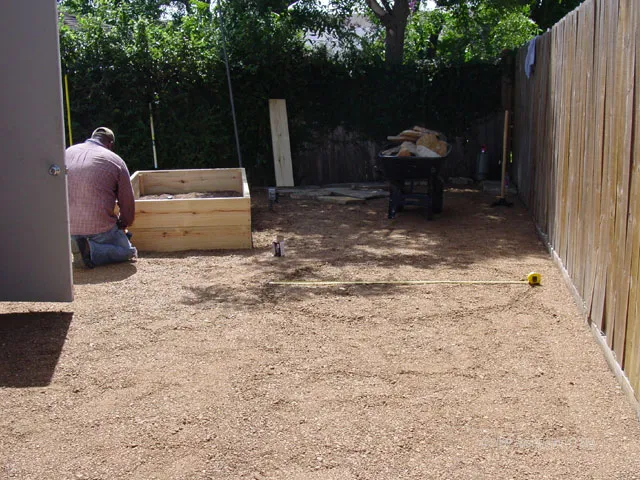
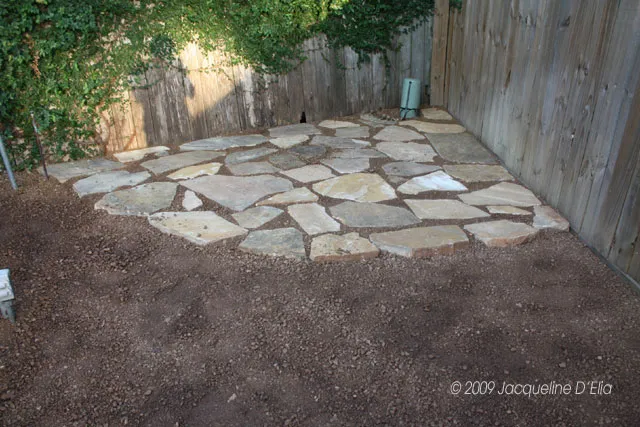
Next, we installed some of the flagstone that was removed from the old space into the back corner under the Pecan tree. This will make a lovely seating area for the teak benches and table.
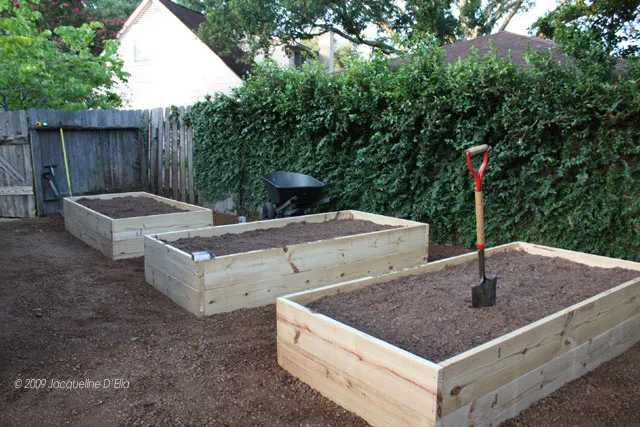
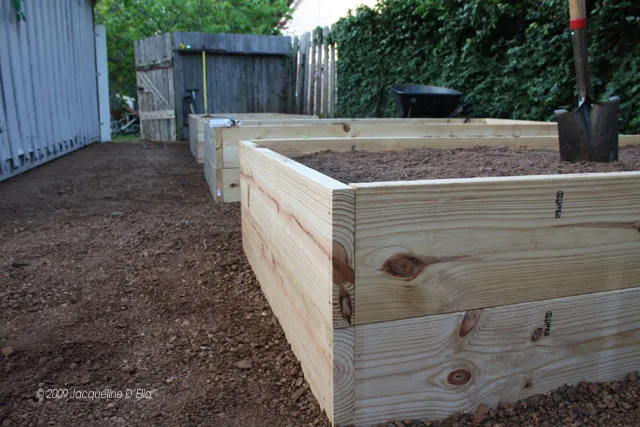
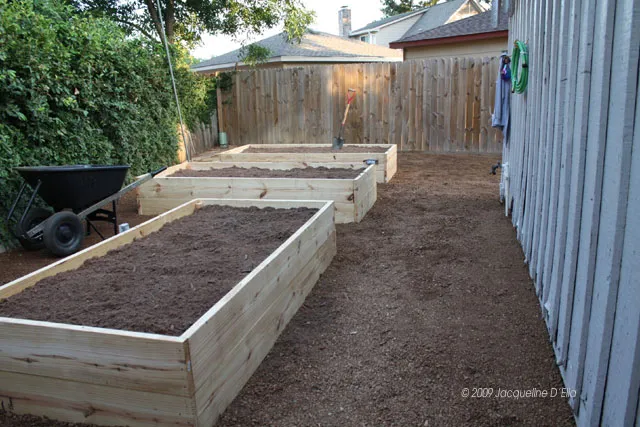
The beds are finished!
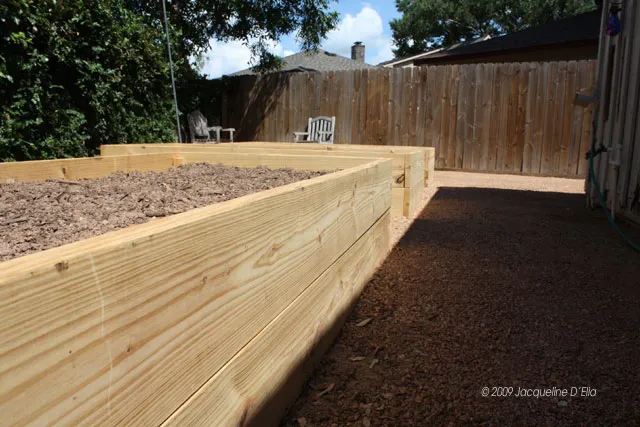
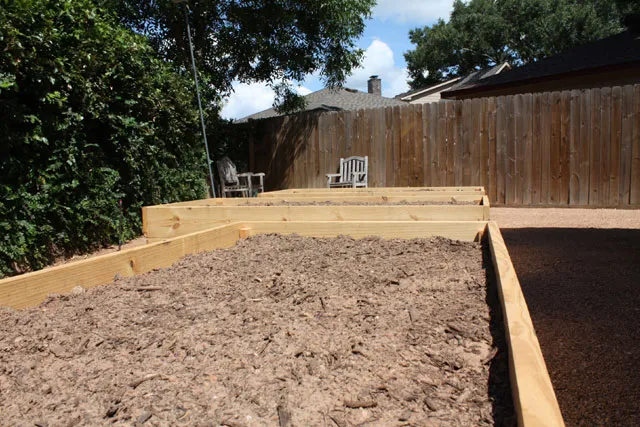
Next Step: Step 5: Check the Soil and Prepare the Beds